
Panier
Il n'y a plus d'articles dans votre panier


")
")
")
")
")
")
")
")
")
")
")

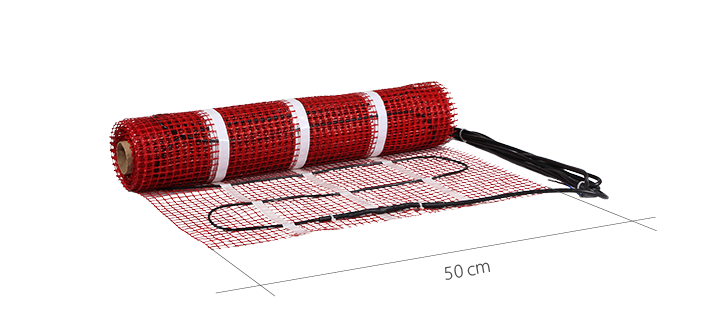
7 m² Sunfloor Electric Tapis de sol chauffant 50 cm x 14 m (1050W)
(1050W) 50 cm x 14 m tapis de chauffage au sol rouge, fil chauffant avec thermostat optionnel et sonde de sol
1 Commentaires
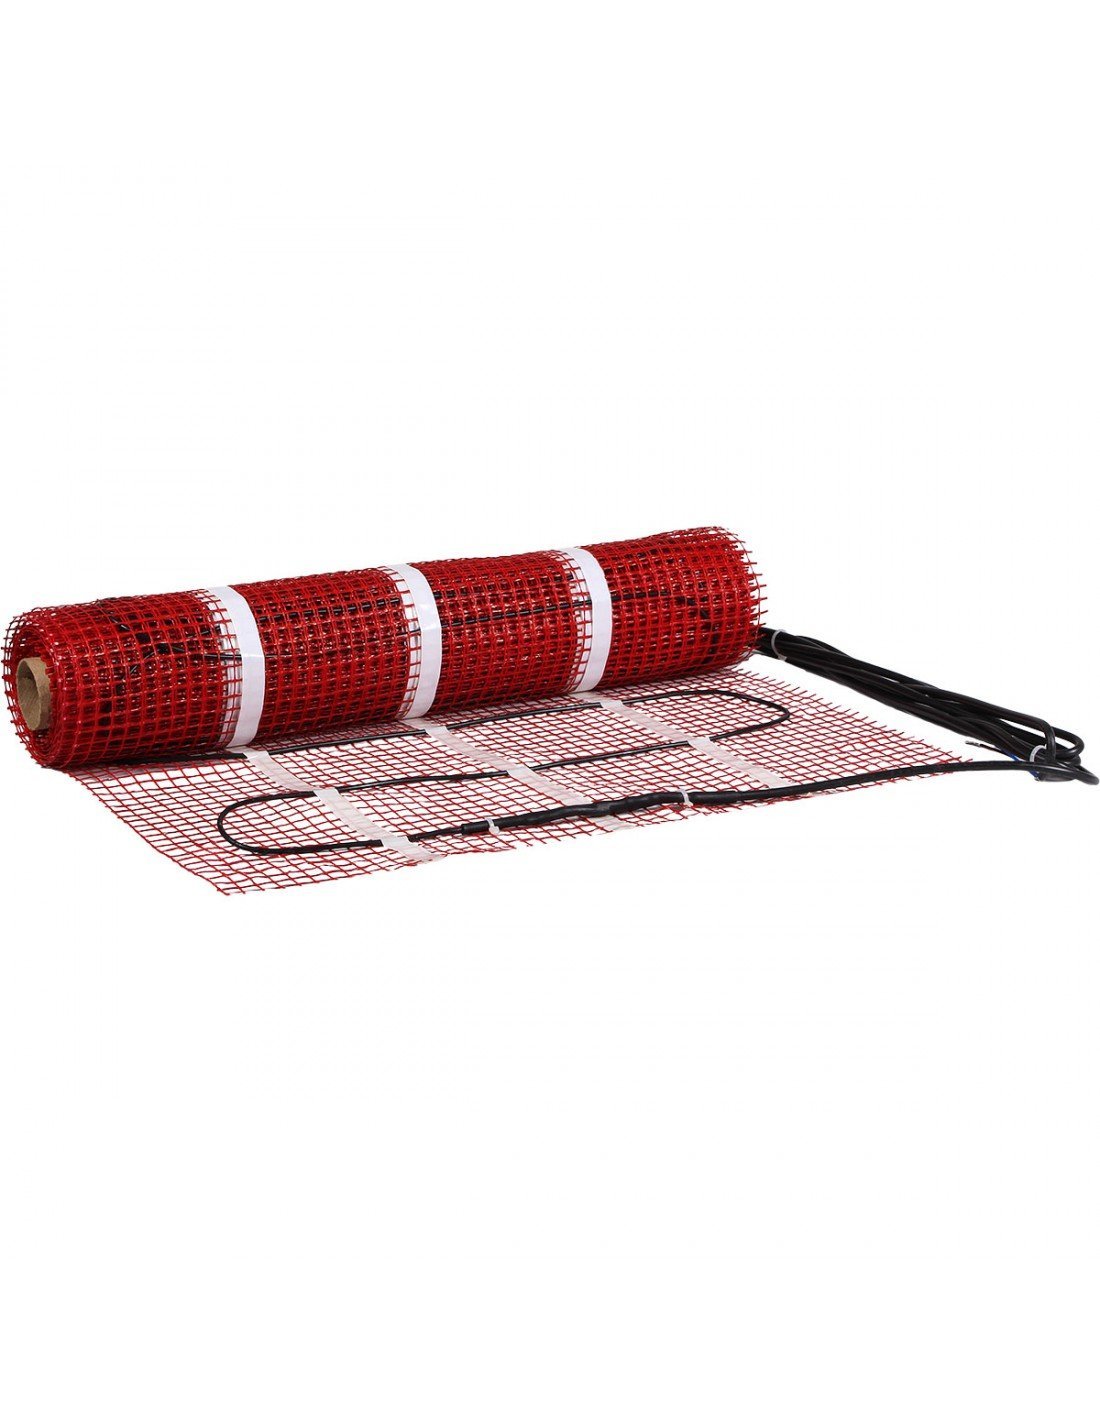
Ce tapis chauffant SUNFLOOR pour chauffage par le sol couvre une surface de 7 m² - (50 cm x 14 m) et a une puissance de 1050 W. C'est une solution moderne et facile à installer qui peut être votre système de chauffage principal ou complémentaire. Grâce à sa faible épaisseur (moins de 4 mm), l'installation est facile et ne nécessite généralement pas un approfondissement supplémentaire du sol. Le tapis peut être facilement dissimulé dans la couche adhésive directement sous les carreaux, ce qui évite de surélever le niveau du sol.
Le système de chauffage peut être utilisé dans une zone sélectionnée (par exemple, juste sous la douche) ou sous toute la pièce. Dans les deux cas, il chauffe rapidement le sol. Il est compatible avec nos panneaux Showerlay XPS et nos drains. Grâce aux propriétés isolantes des panneaux XPS, le chauffage du sol de la douche est très efficace et économique.
Le tapis peut être coupé et posé de différentes manières (détails dans l'onglet ci-dessous). Veillez simplement à ne couvrir que les zones utilisables, et non sous les meubles et les appareils électroménagers.
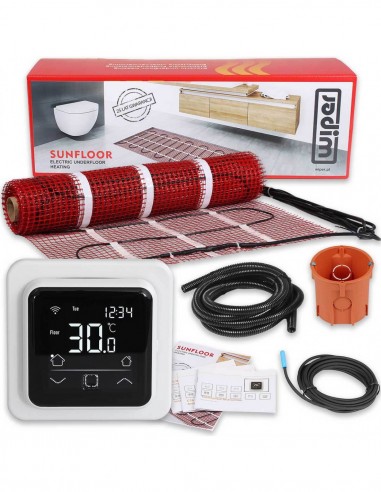
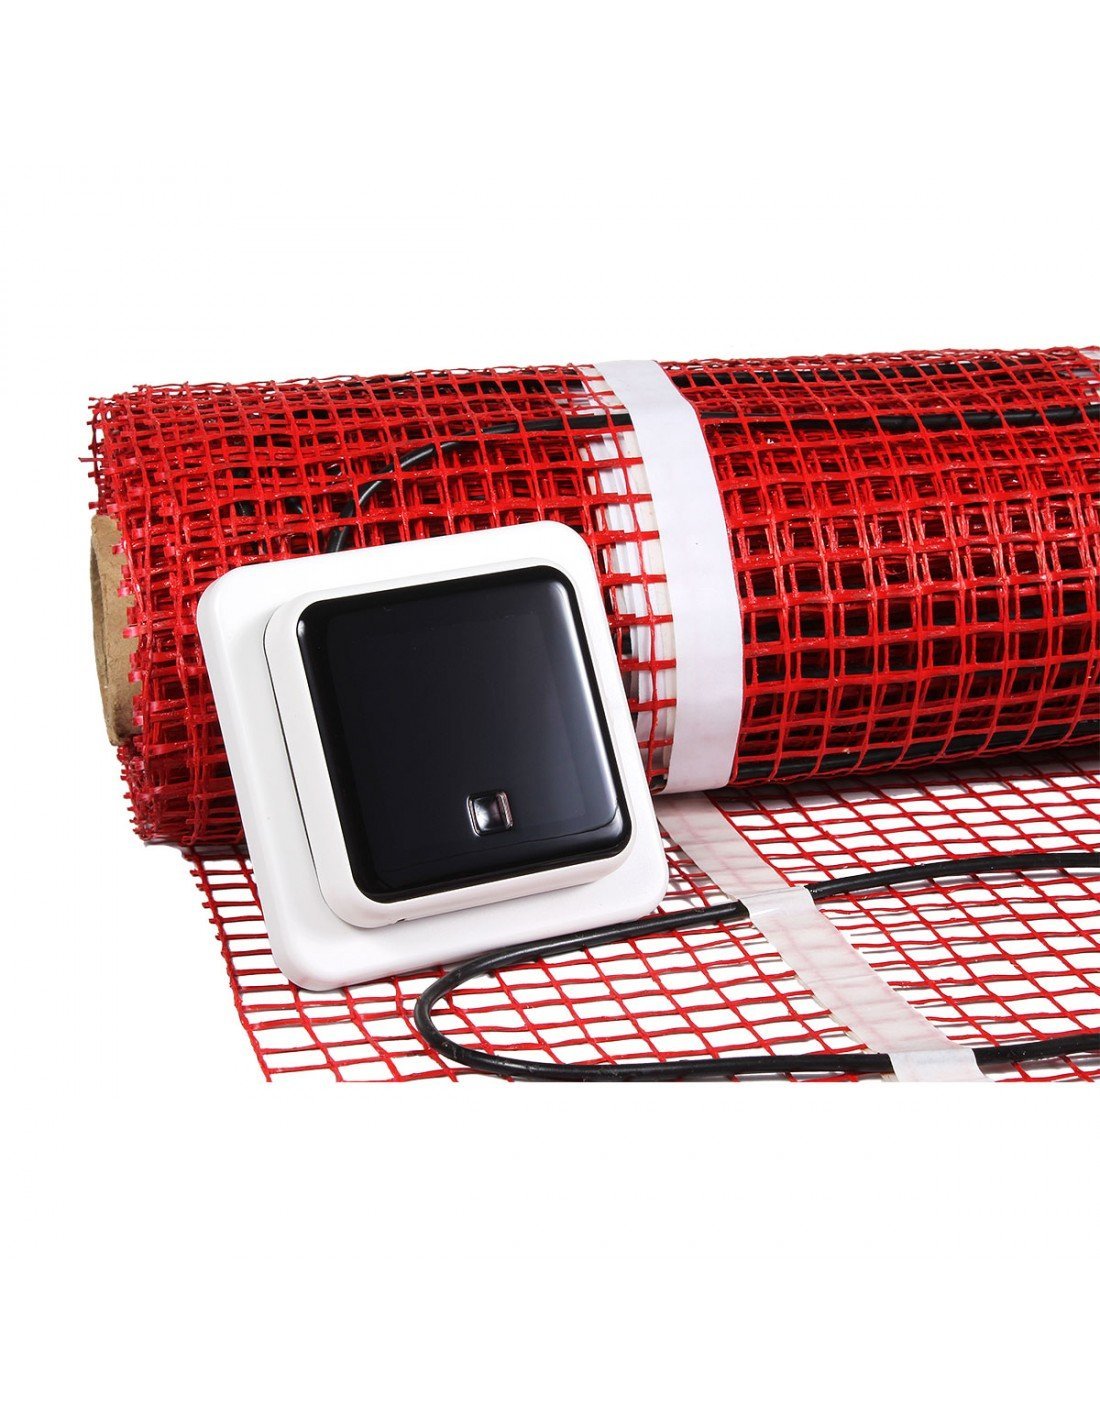
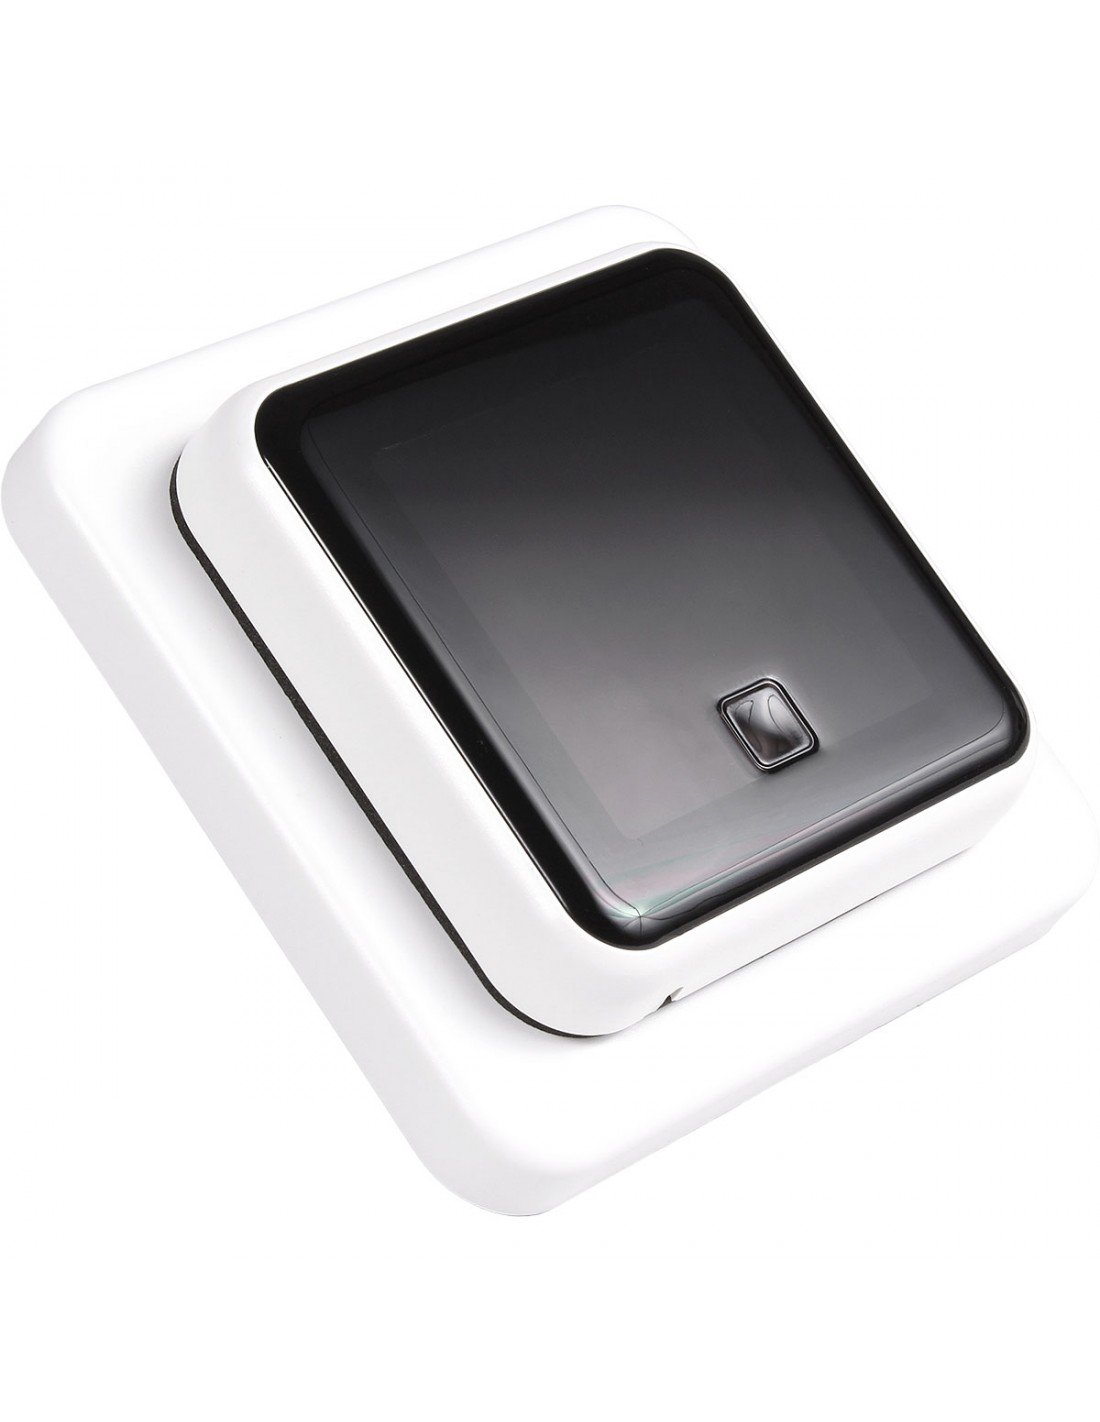
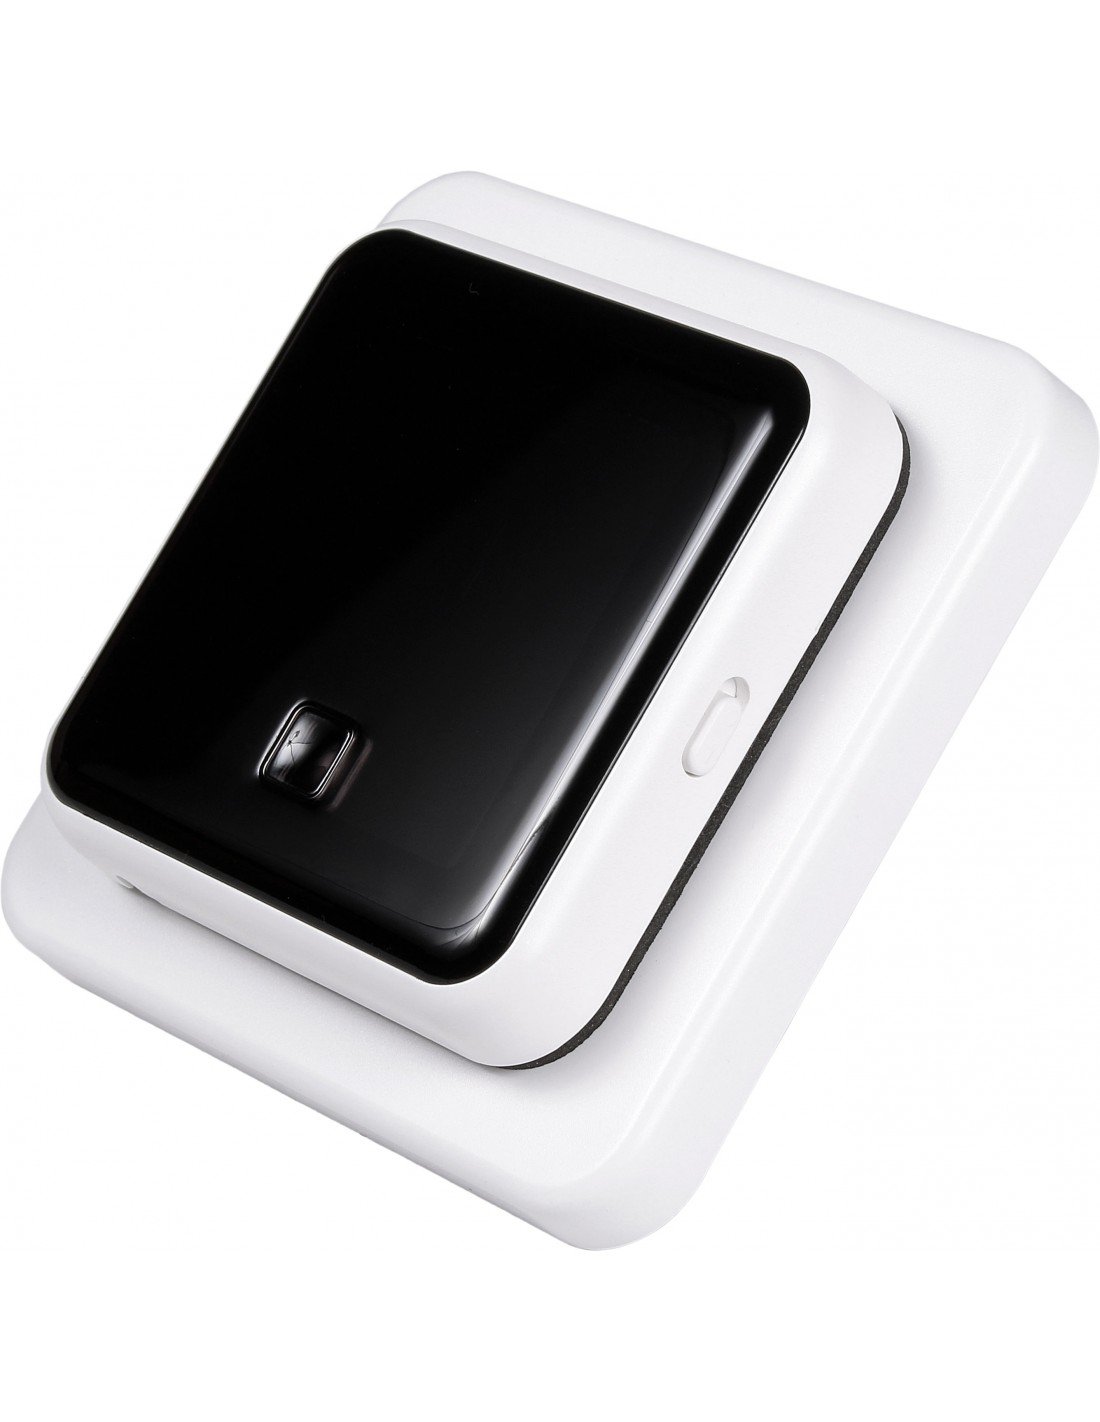
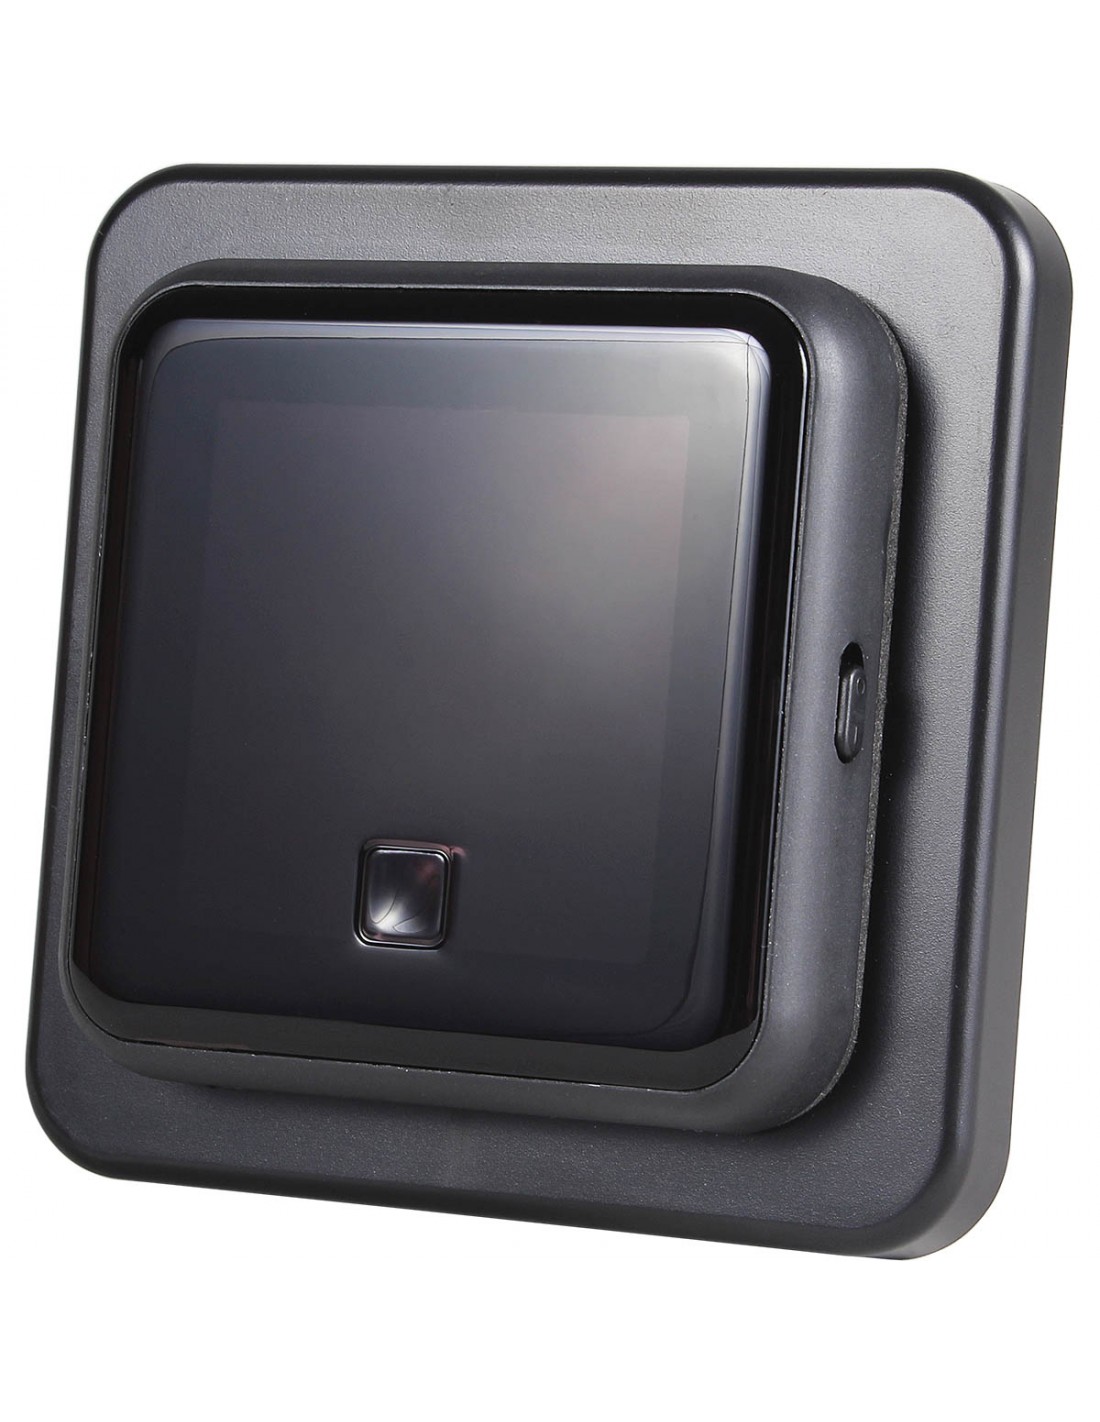
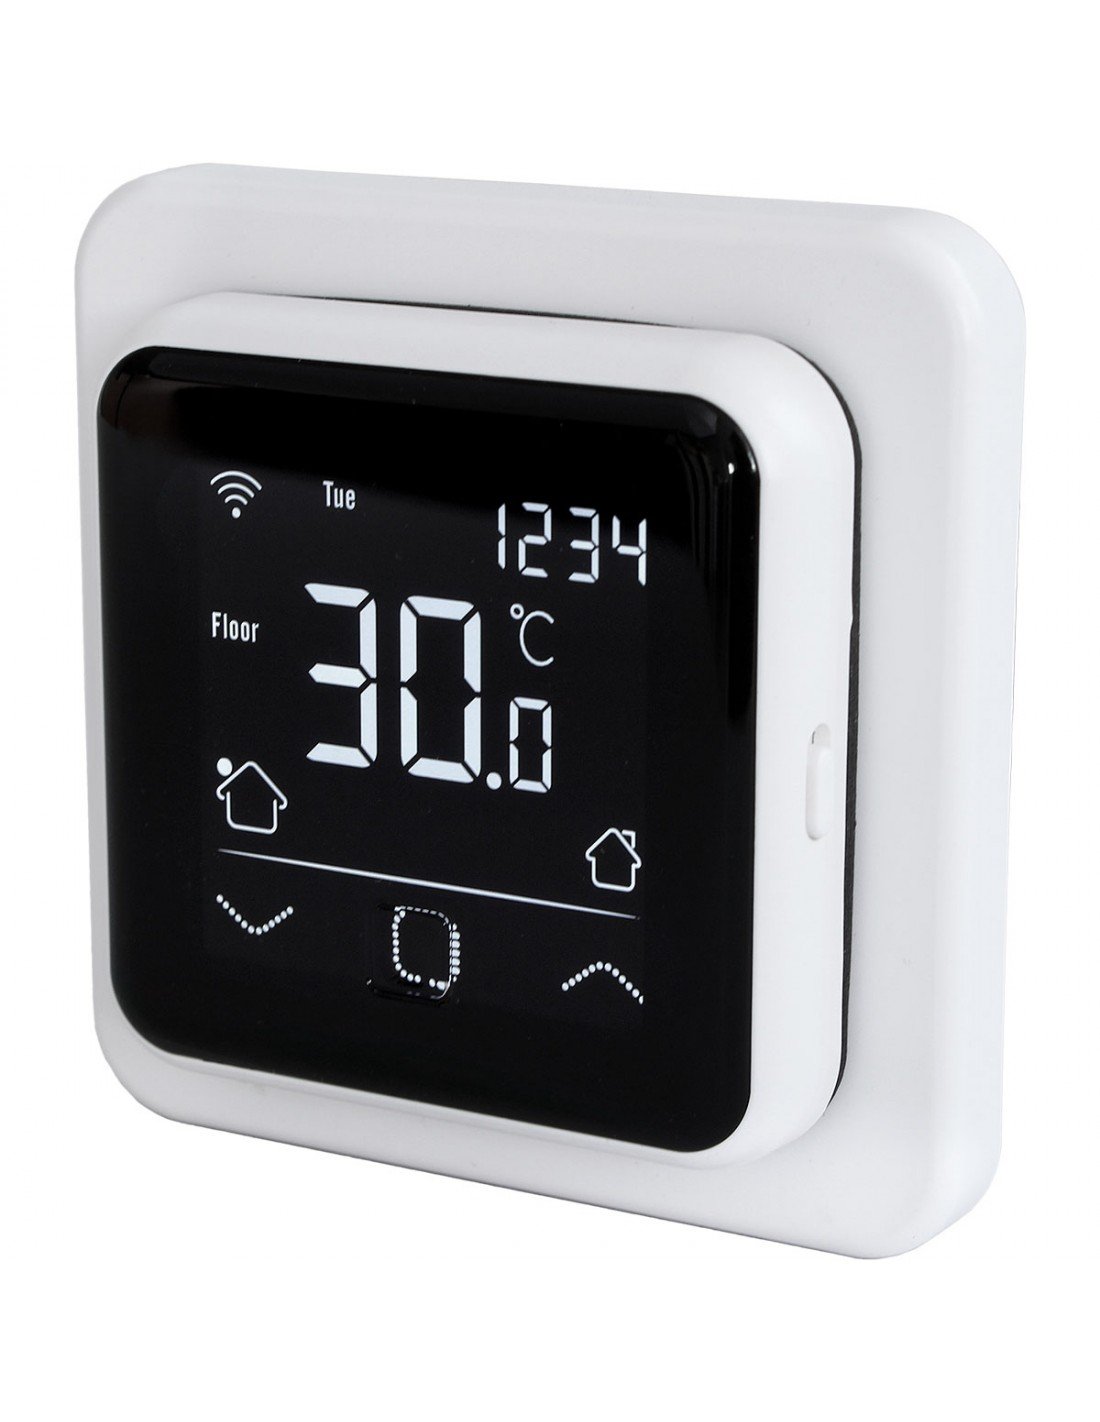
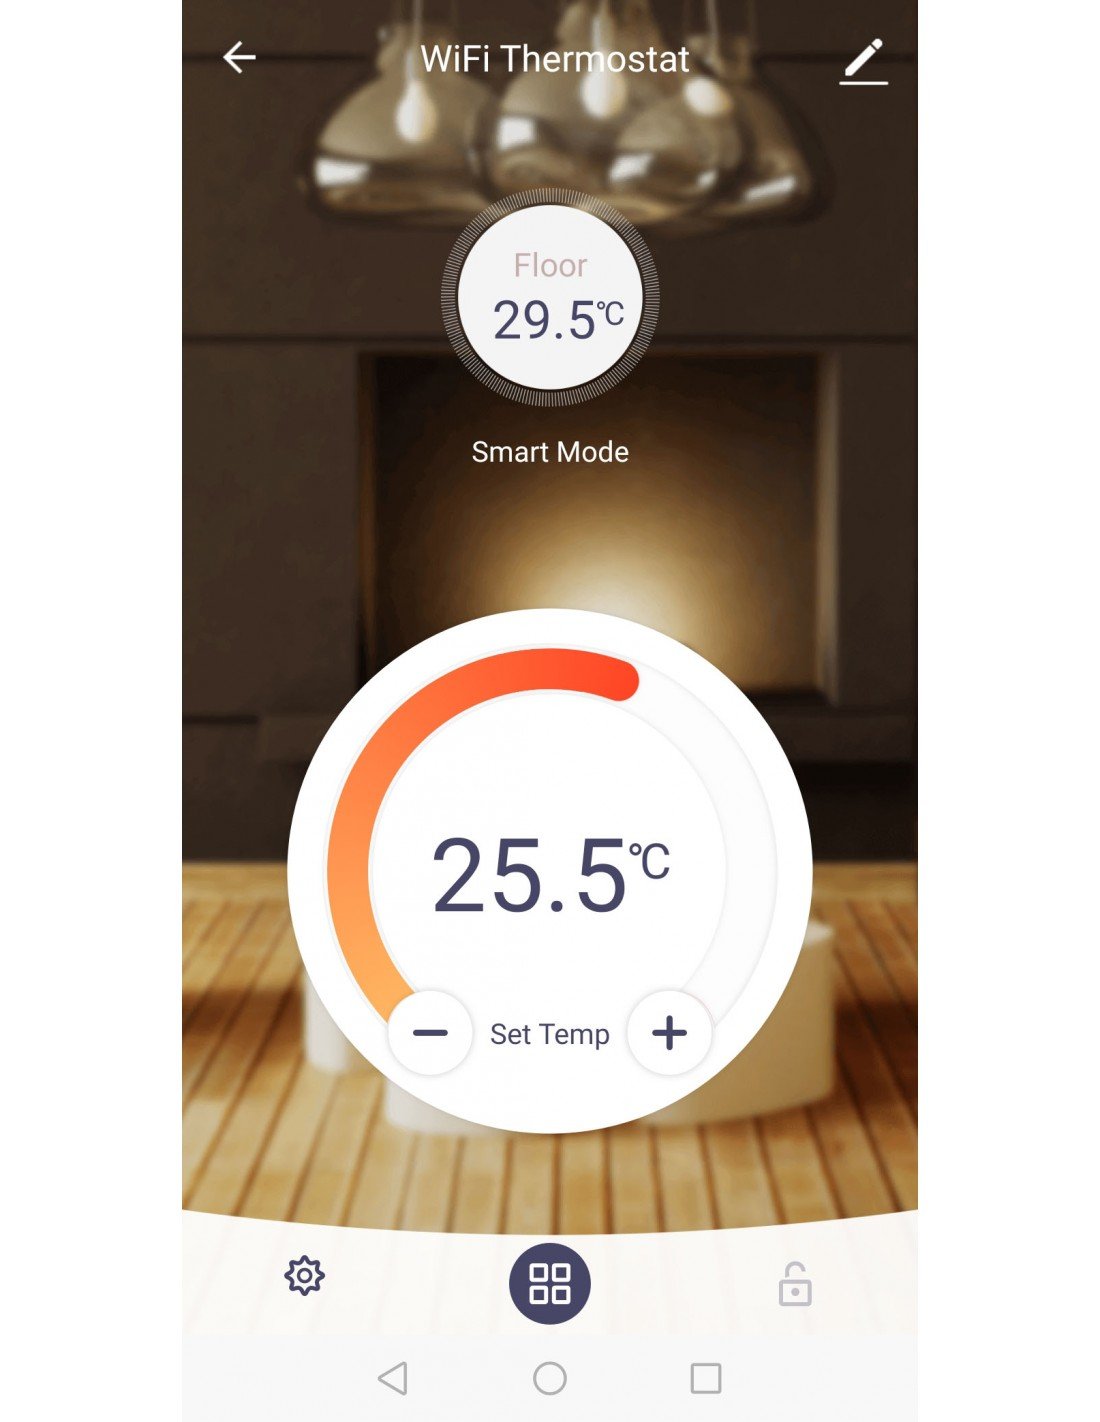
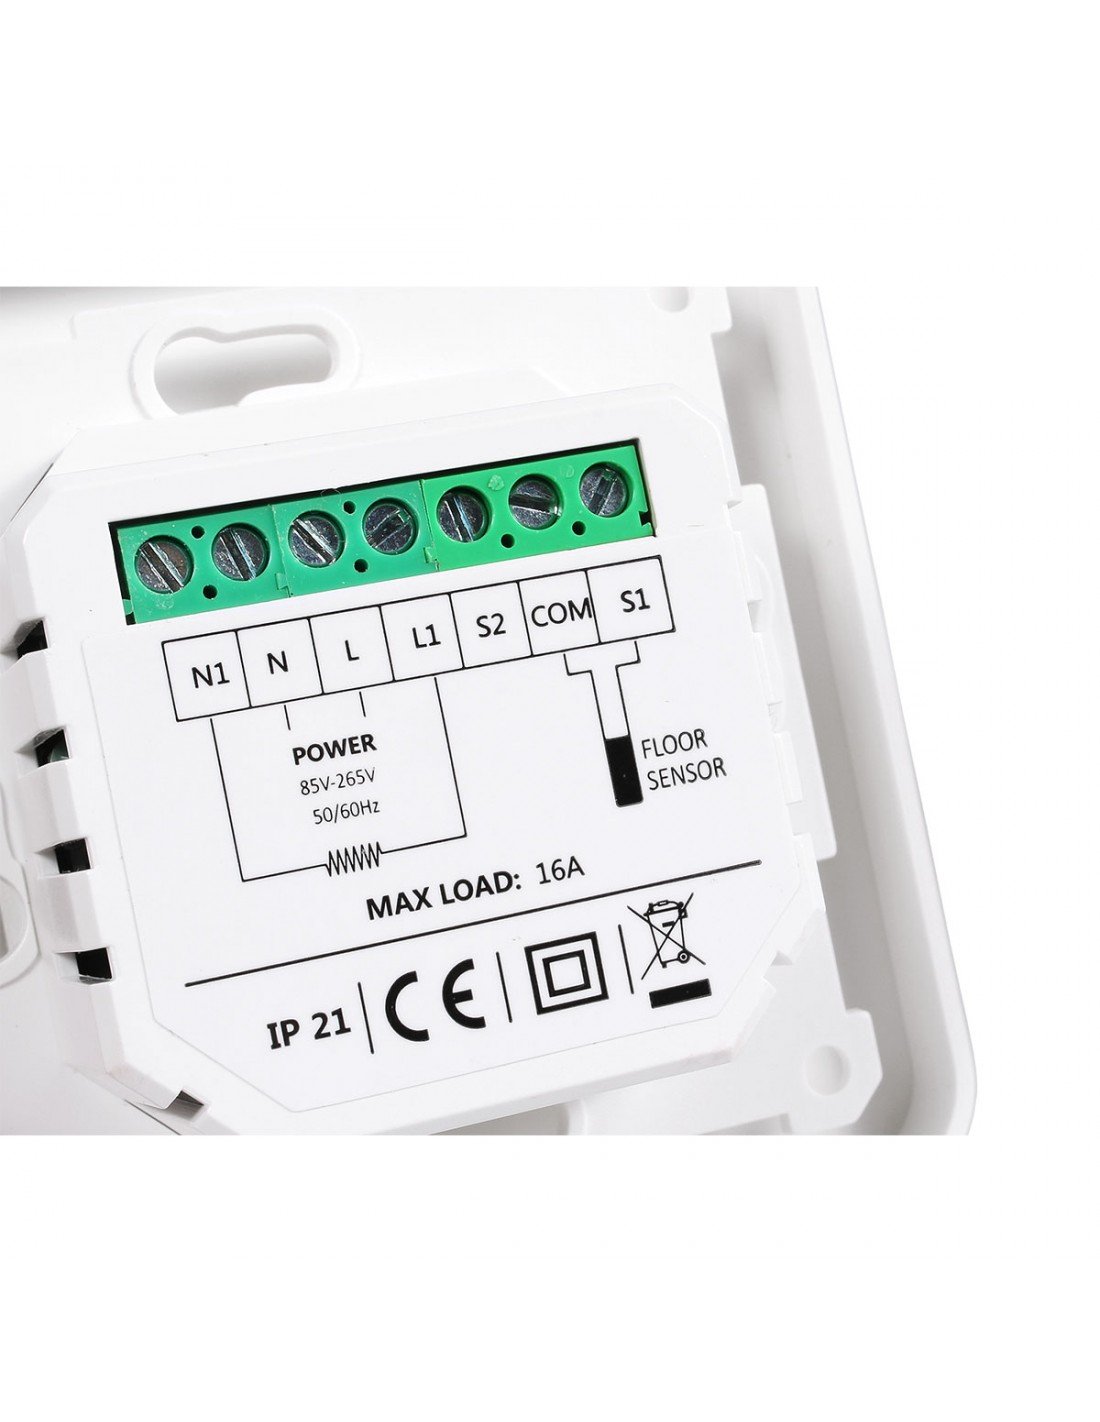
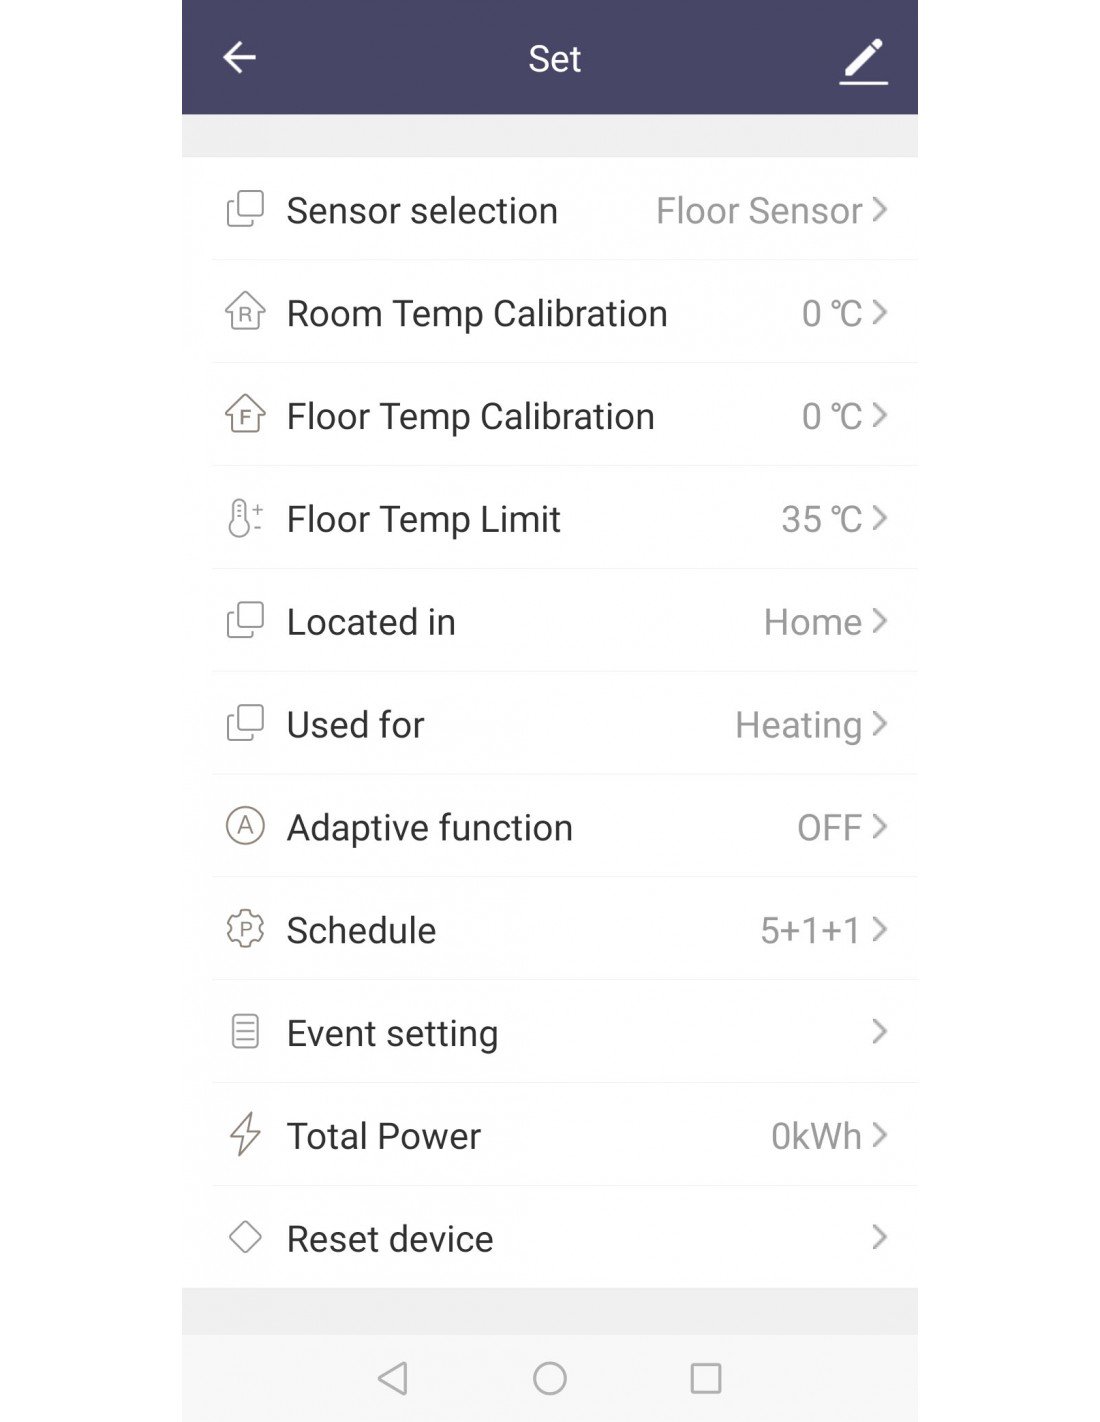
La connexion unilatérale pratique facilite l'installation. Vous pouvez choisir d'inclure le Smart WiFi Digital Thermostat dédié. Il a une taille compacte et un look élégant et épuré. Avec l'application mobile, vous pourrez vérifier et régler la température de chauffage sur votre téléphone. Un seul appareil peut gérer jusqu'à 3600 Watts (max. 16 Ampères, soit environ 23 m²). Il est livré avec un capteur de température de sol et une gaine électrique pour l'installation.
Le tapis et le thermostat sont tous deux garantis à vie.
Sur la base des paramètres actuels, si vous ajoutez au panier l'ensemble actuel et que vous passez commande, vous recevrez les articles suivants :

3,5 mm d'épaisseur


Sonde de sol

Instructions et guide
Instructions de montage pour le kit de chauffage par le sol Sunfloor avec contrôle utile pour mesurer la tension lors de l'installation
pour l'installation et l'utilisation
Le tapis chauffant est principalement conçu pour être installé sur des sols en béton. En cas de pose sur un sol en bois, tous les sols doivent être recouverts d'un panneau à revêtement en ciment compatible avec les systèmes de plancher chauffant.
Garantie: La partie électrotechnique du chauffage par le sol est garantie 10 ans. Le thermostat est garanti 2 ans. Cela ne s'applique pas aux dommages causés par des facteurs externes et/ou une installation incorrecte.
Si vous achetez ce produit, vous recevrez (pièces incluses):
- Tapis chauffant avec fil de connexion
- Carte d'inspection
- Instructions d'installation
Si vous incluez le thermostat, vous recevrez également:
- Thermostat
- Sonde de sol
- Un tube de sonde flexible
- Couverture
- 7 m²
- Épaisseur
- 4 mm
- Puissance de chauffage
- 1050 Watt
- Largeur du rouleau
- 500 mm
- Taille
- 5 cm x 14 m
- Diamètre du câble
- 4 mm
- Résistance
- 10 - 11 Watt par mètre
- Fil de fer
- Fil de résistance en chrome / nickel
- Enveloppe
- Gaine en aluminium avec mise à la terre
Un service expérimenté et dévoué
Depuis plus de 25 ans, nous nous engageons à être un détaillant en ligne de confiance pour les caniveaux de douche. Les excellents commentaires de nos clients témoignent de notre engagement à assurer des livraisons rapides, facilitées par nos entrepôts situés dans plusieurs pays européens. Avec des milliers de produits en stock disponibles pour une livraison rapide, vous pouvez être sûr de recevoir vos commandes dans les plus brefs délais. De plus, notre équipe de service clientèle est toujours à votre disposition pour vous aider avant, pendant et après votre commande, afin de vous garantir la meilleure expérience d'achat possible.
Commentaires sur les produits Cette section présente des avis détaillés sur le produit que vous êtes en train de consulter, offrant un retour d'information direct de la part de clients qui ont déjà bénéficié de ses avantages. Bien que ce produit puisse présenter des caractéristiques similaires à celles d'autres articles de notre gamme, chaque avis porte spécifiquement sur ce modèle particulier, disponible en différentes tailles pour répondre aux besoins et aux préférences de chacun. Ces commentaires fournissent des informations précieuses pour vous aider à prendre une décision éclairée, en soulignant les caractéristiques distinctives et la qualité de chaque produit proposé ici.
1 Product review for 7 m² Sunfloor Electric Tapis de sol chauffant 50 cm x 14 m (1050W)
Très bien !
Sensation incroyable, excellent rapport qualité-prix...
Tap to zoom
