
Panier
Il n'y a plus d'articles dans votre panier


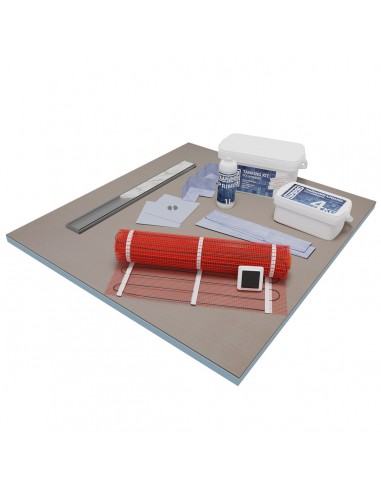
Douche à l'italienne set Receveur de douche à l'italienne 80 x 120 + 1m² Underfloor Heating + Tanking Kit
Our Wet room complete set contains of a Showerlay Wiper 800 x 1200 mm Line Pure tray with a integrated stainless steel linear drain. The tray is 20 mm thick and has a 2% for-way fall towards the drain. Reinforced XPS foam is a very strong material being lightweight at the same time. It provides excellent acoustic insulation. Shower tray comes with a 1 m2 Sunfloor Electric Underfloor Heating Mat. The sticky heating mat is easy to install and very efficient heating system. Smart WiFi thermostat is also included. And the last part of the set is a Tanking Kit for waterproofing the shower area before tiling. It includes 4kg of premium tanking liquid, 1l of primer, 10 m of sealing tape, 2 pipe collars, and 2 internal sealing corners. This set is all you need for your walk-in, wet-room shower.
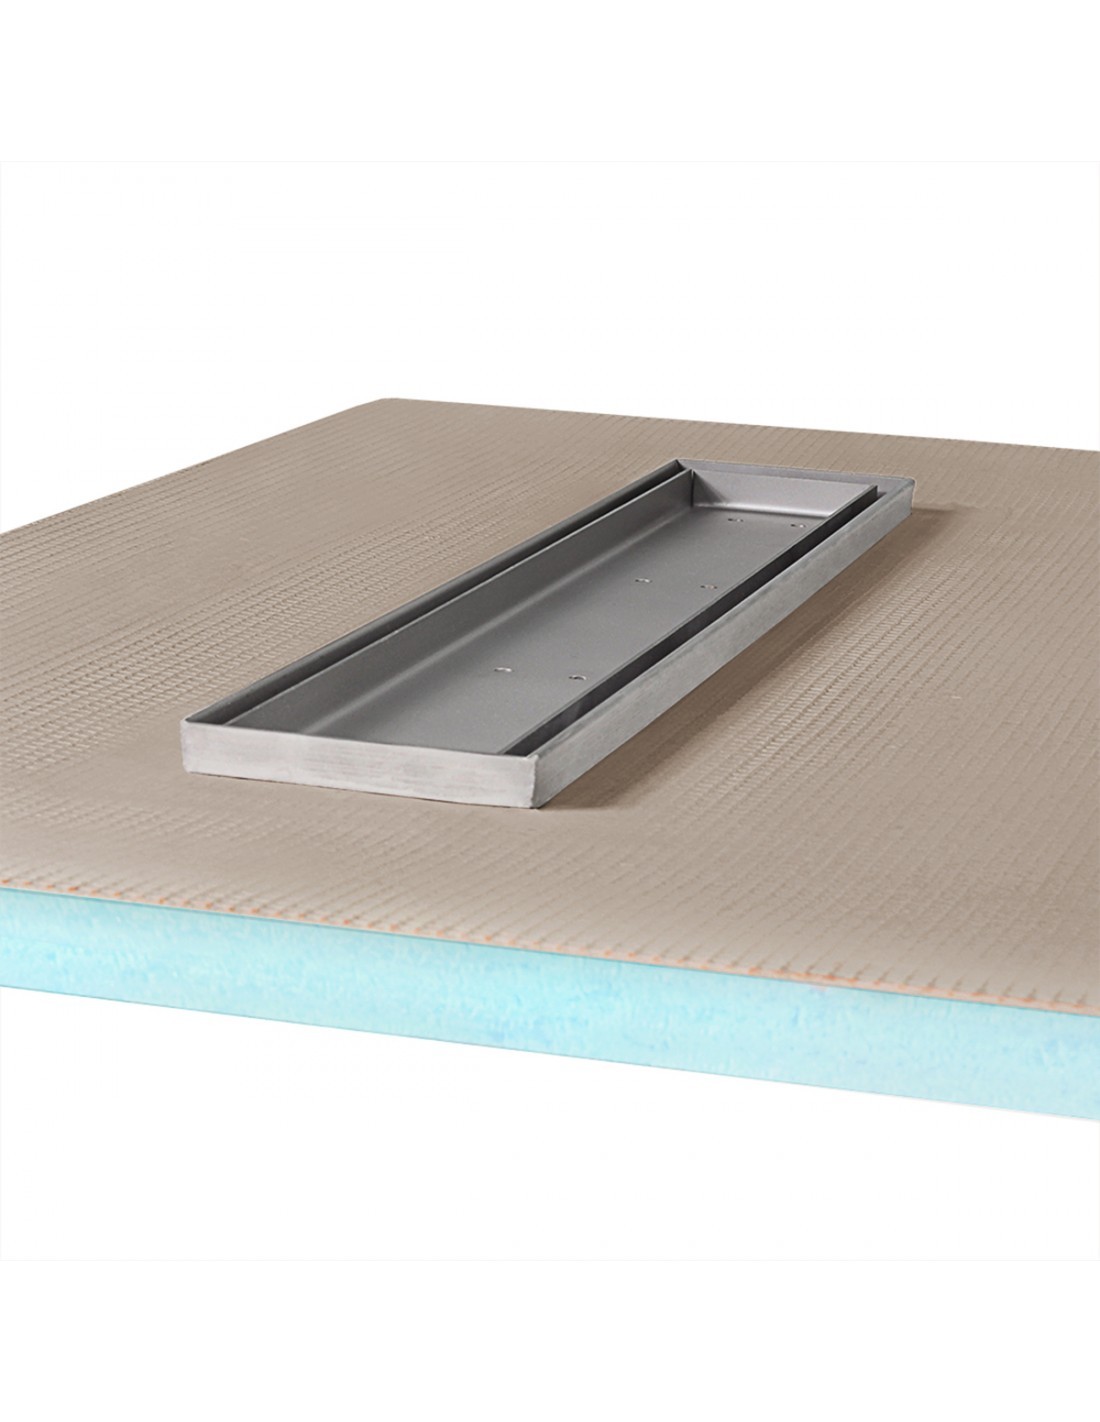
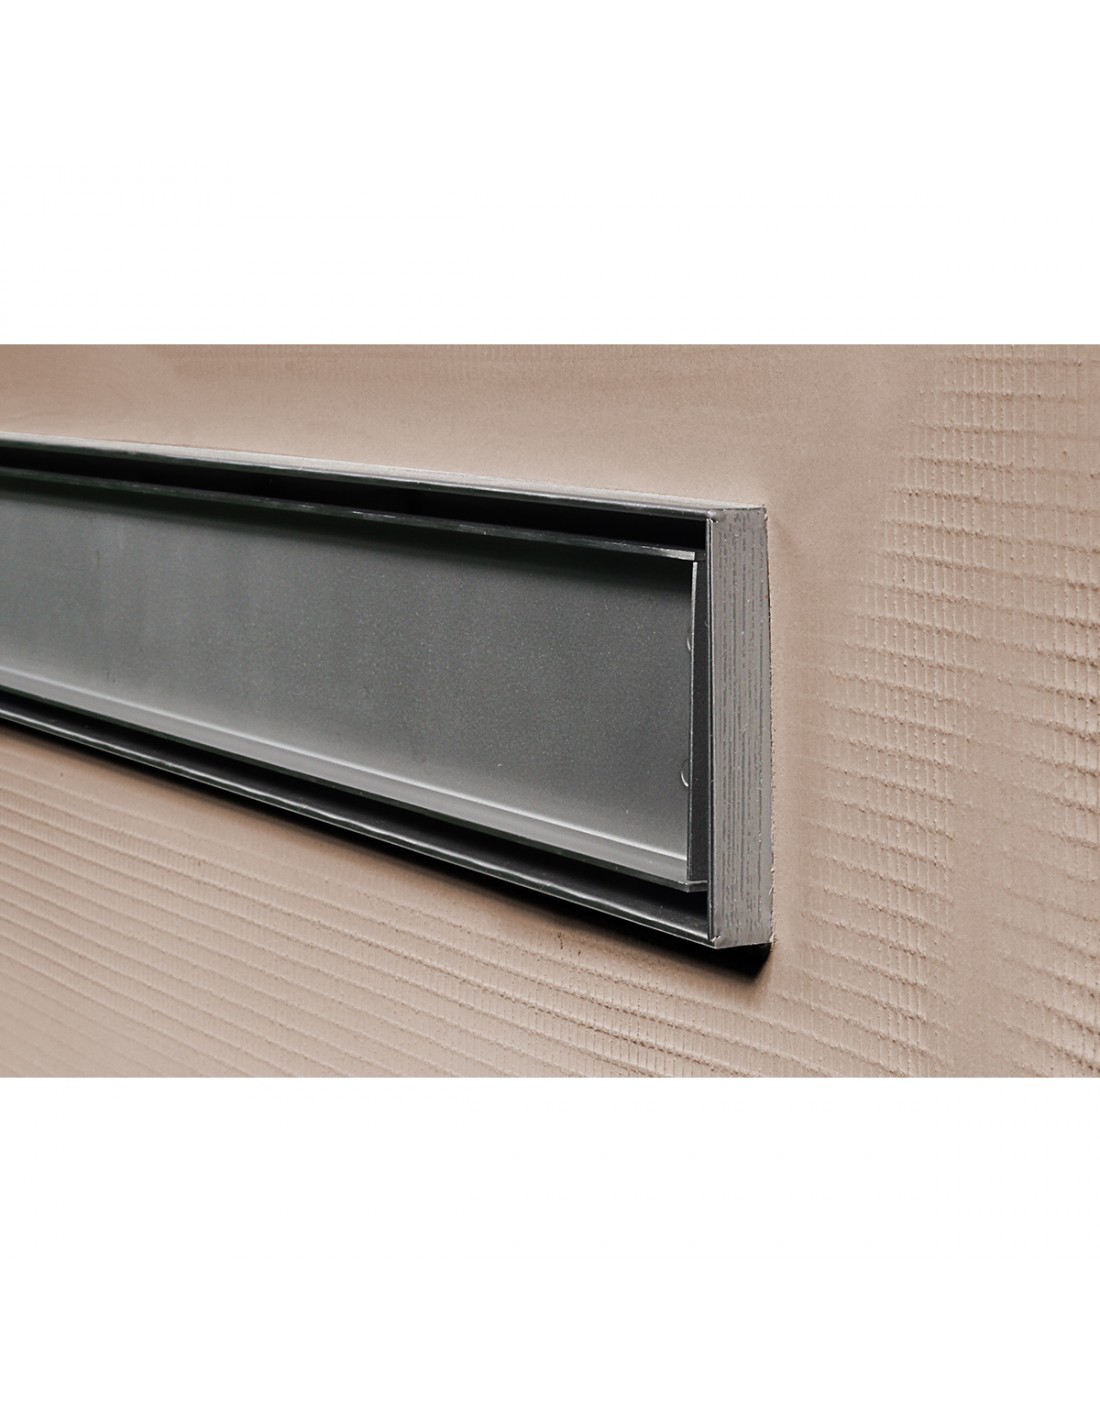
SHOWERLAY WIPER
Showerlay 800 x 1200 mm is designed to give you an easy access wet room. It is easy to cut down to size and install. The former is has a ready made 2% fall towards the drain, provides great acoustic insulation and is also lightweight.
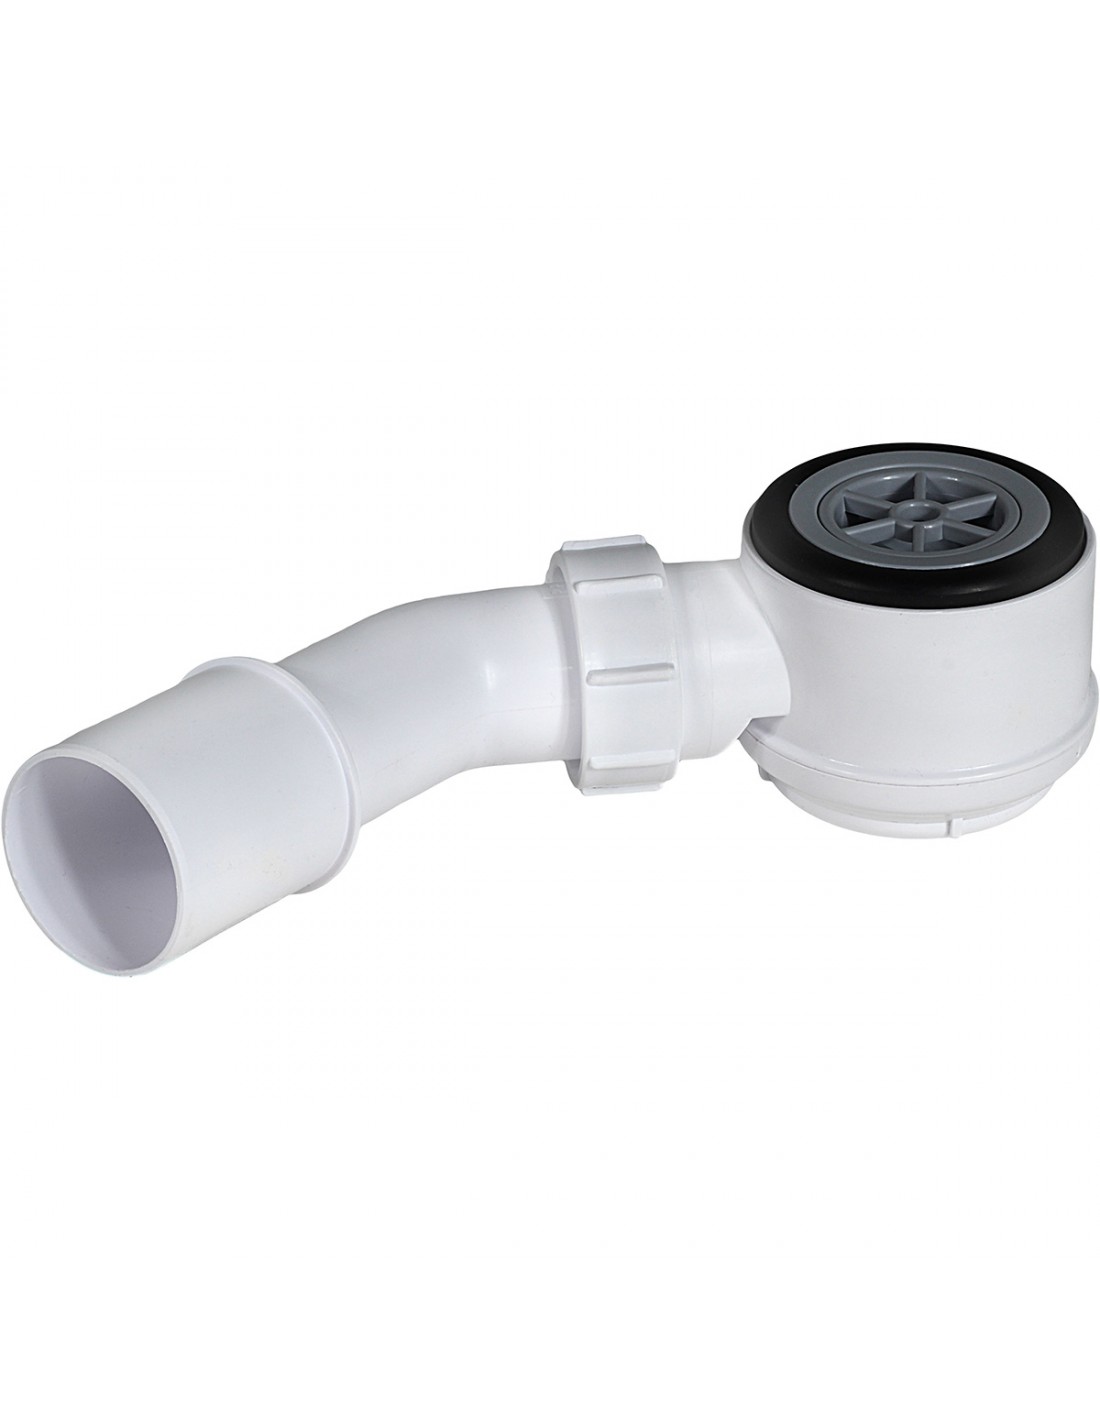
Suitable high quality shower drainage is included in the former. It comes with a 600 mm long stainless steel linear end drain. It also comes with grating which is 64 mm wide, leaving an 8 mm wide channel for water to flow. Pure is a slot cover that should be filled with tiles, so that, after the installation the only visible part of the tray would be the channel. The height from the shower tray surface to the top edge of the vertical upstand is 15 mm. McAlpine siphon trap with a capacity of 26 l/min and a 20 mm high water seal is also included. Showerlay is a complete unit with everything you need.
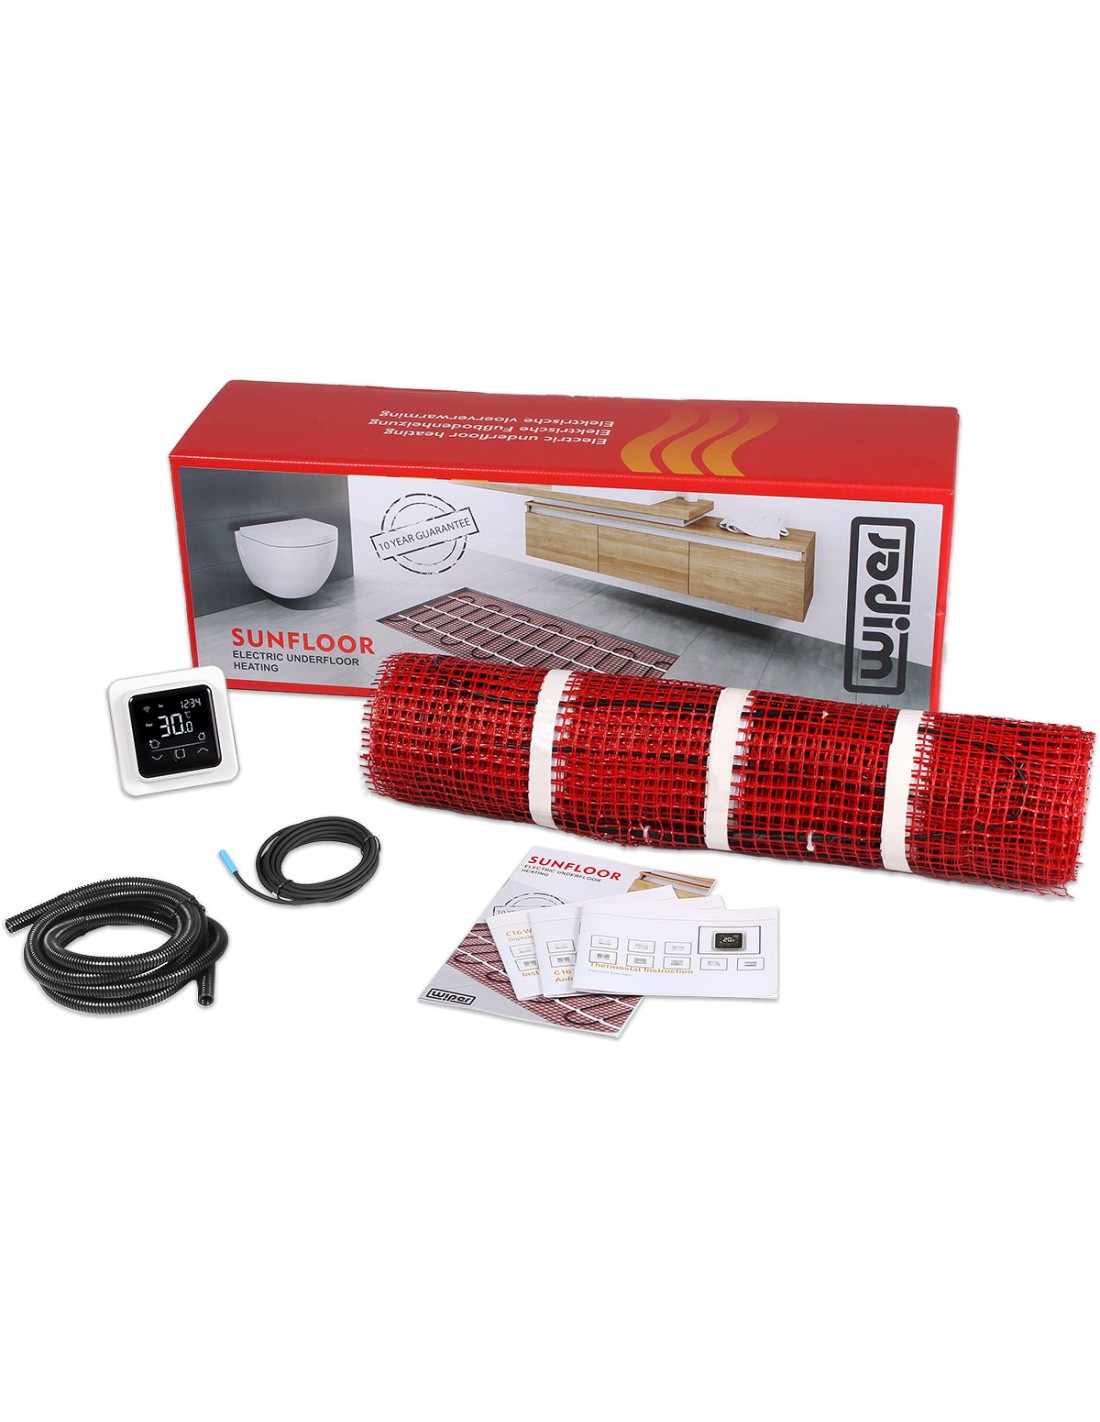
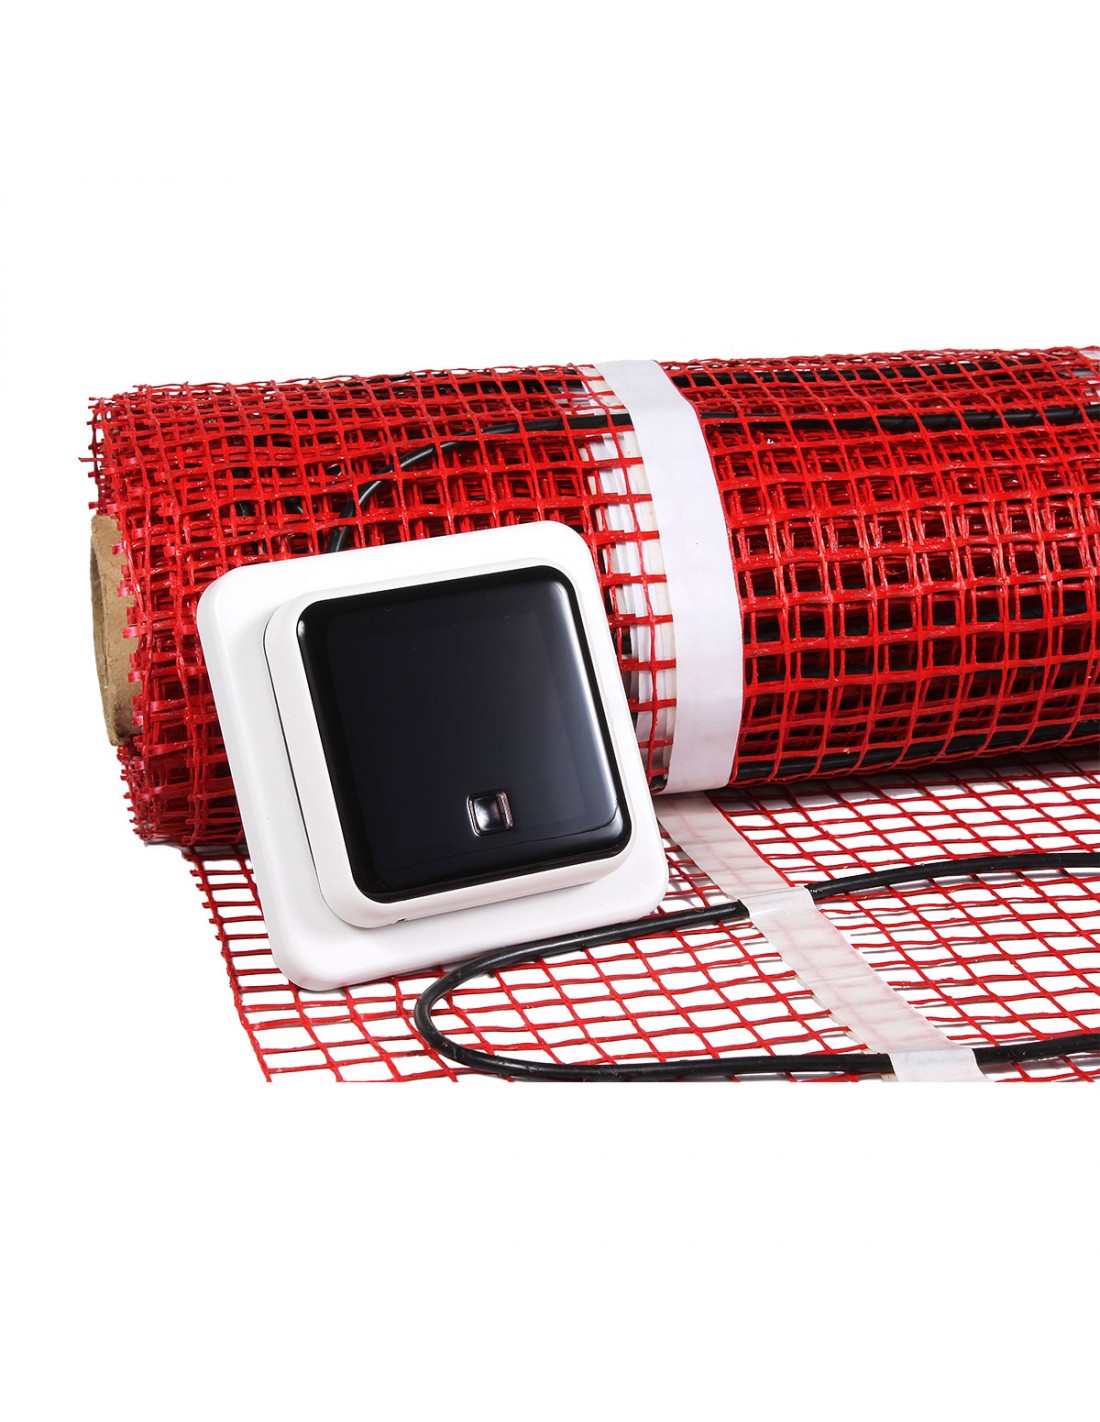
SUNFLOOR UNDERFLOOR HEATING
It is a modern and easy-to-install solution that can be your main or additional heating system. The mat can be easily hidden in the adhesive layer directly under the tiles.
The heating system can be used in selected area (for ex. just under the shower) or in the entire room. In either case it heats up the floor quickly. Thanks to the XPS boards insulating properties the shower floor heating is very effective and cost efficient.
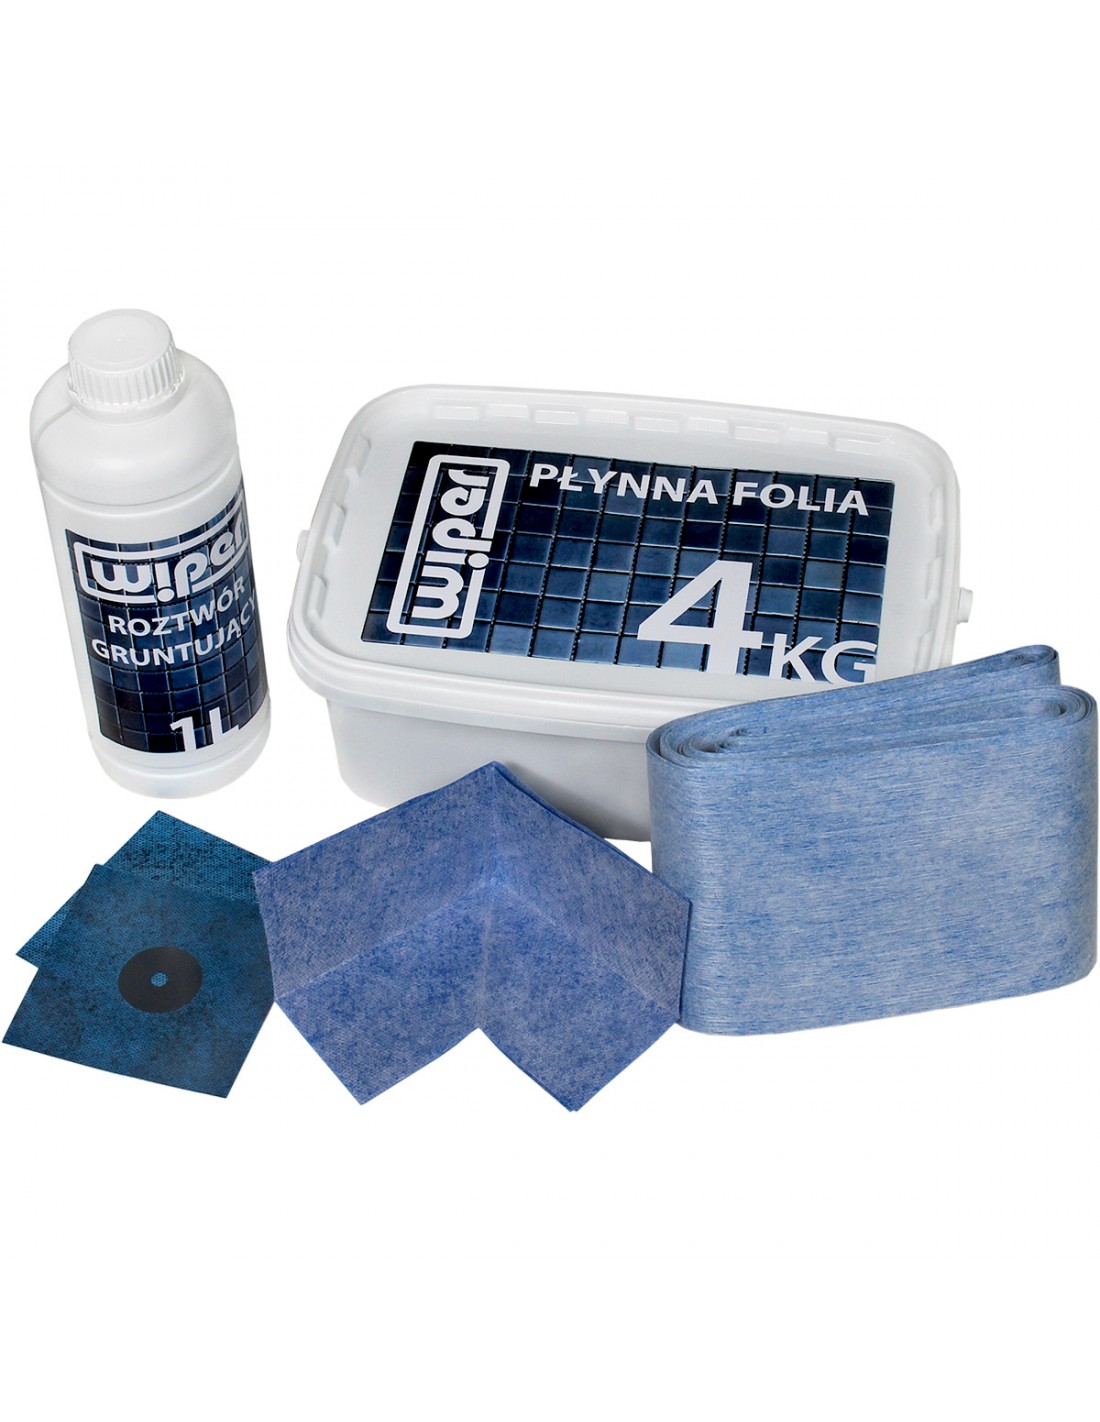
TANKING KIT
The tanking kit is a ready-mixed, under-tile tanking system to protect water sensitive substrates from exposure to water. Suitable for wet areas not exposed to pressurised water, such as bathrooms, showers in residential buildings, hotels, old people's homes and hospitals. Ready to use, no mixing required and easy to apply with a roller. The kit includes a high performance joint reinforcing tape to protect against movement in floor joins and corners etc. The contents are all INSIDE the bucket.
- Style de grille
- Pure (slot)
- Hauteur
- 120 cm
- Largeur
- 80 cm
- Épaisseur
- 20 mm
- Parage
- Des deux côtés : jusqu'à 50 mm
- Matériau
- Feuille de mousse XPS
- Renforcement
- Colle cimentaire et membrane d'étanchéité
- Chute
- 4 voies à 2 % vers le drain
- Modèle
- Line
Un service expérimenté et dévoué
Depuis plus de 25 ans, nous nous engageons à être un détaillant en ligne de confiance pour les caniveaux de douche. Les excellents commentaires de nos clients témoignent de notre engagement à assurer des livraisons rapides, facilitées par nos entrepôts situés dans plusieurs pays européens. Avec des milliers de produits en stock disponibles pour une livraison rapide, vous pouvez être sûr de recevoir vos commandes dans les plus brefs délais. De plus, notre équipe de service clientèle est toujours à votre disposition pour vous aider avant, pendant et après votre commande, afin de vous garantir la meilleure expérience d'achat possible.
Commentaires sur les produits Cette section présente des avis détaillés sur le produit que vous êtes en train de consulter, offrant un retour d'information direct de la part de clients qui ont déjà bénéficié de ses avantages. Bien que ce produit puisse présenter des caractéristiques similaires à celles d'autres articles de notre gamme, chaque avis porte spécifiquement sur ce modèle particulier, disponible en différentes tailles pour répondre aux besoins et aux préférences de chacun. Ces commentaires fournissent des informations précieuses pour vous aider à prendre une décision éclairée, en soulignant les caractéristiques distinctives et la qualité de chaque produit proposé ici.
No reviews
Tap to zoom
